 En
En
 De
De Fr
Fr Ru
Ru Es
Es Pt
Pt It
It Ar
Ar Se
Se Nl
Nl Jp
Jp Tw
Tw Gr
Gr Th
Th Fi
Fi Ko
Ko Pl
Pl Cn
Cn Tr
Tr No
No Dk
Dk Il
Il My
My Hu
Hu Hi
Hi
How do you stack 4 aruba switches?
To stack 4 Aruba switches, you would typically use dedicated stacking modules or cables provided by the manufacturer to physically connect the switches together. Once physically stacked, you would then configure the switches to operate as a single logical unit, allowing for simplified management and increased capacity across the stack. This can usually be done through the switch's management interface by setting up the stacking configuration and assigning roles to each switch in the stack.
Aruba switch stacking technology overview
Aruba switch stacking technology allows you to stack up to four Aruba switches together to create a single logical switch. This provides increased resiliency, simplified management, and improved performance. To stack four Aruba switches, you typically connect them using stacking cables and configure them in a stack using the provided management interface.
The latest point of view on Aruba switch stacking technology emphasizes its scalability and flexibility. With the ability to stack up to four switches, organizations can easily expand their network infrastructure as needed without compromising on performance or manageability. Additionally, Aruba's stacking technology offers advanced features such as distributed link aggregation, which optimizes bandwidth utilization and enhances network resiliency.
Overall, Aruba switch stacking technology provides a cost-effective and efficient solution for organizations looking to streamline their network operations and enhance their overall network performance. By leveraging the latest advancements in stacking technology, businesses can achieve a more agile and responsive network infrastructure that meets the demands of today's digital landscape.
Steps to physically stack Aruba switches
To physically stack Aruba switches, you can follow these steps:
1. Ensure all switches are powered off before starting the stacking process to avoid any electrical issues.
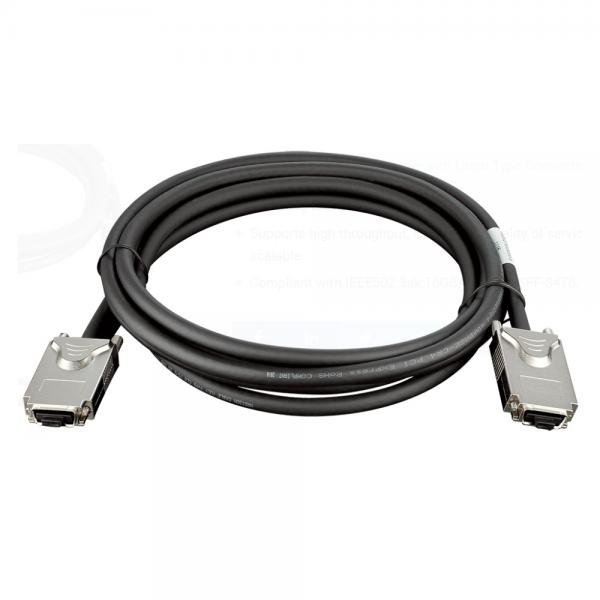
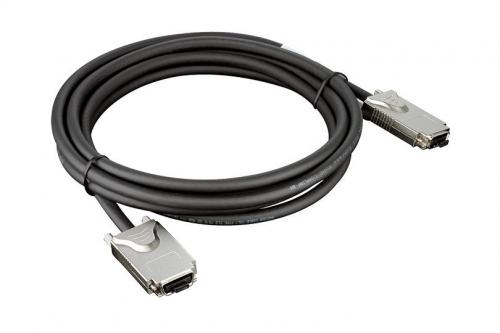
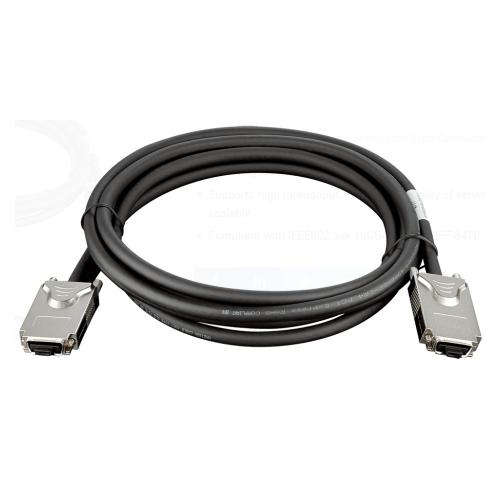
2. Connect the stacking cables between the switches in the desired configuration. Aruba switches typically use high-speed stacking cables for this purpose.
3. Securely mount the switches in a rack or on a stable surface to prevent any accidental movement or disconnection during operation.
4. Power on the switches and configure them for stacking using the appropriate commands in the switch's management interface.
5. Verify the stacking configuration by checking the switch management interface for any errors or warnings related to the stacking setup.
6. Optionally, you can configure the switches for high availability and redundancy by setting up a stacking backup link or configuring a ring topology for improved resilience.
The latest point of view emphasizes the importance of following manufacturer guidelines and best practices for stacking switches to ensure optimal performance and reliability in the network infrastructure. It is recommended to refer to the specific documentation provided by Aruba for detailed instructions on stacking their switches.
Configuring stacked Aruba switches for optimal performance
Configuring stacked Aruba switches for optimal performance involves several key steps to ensure seamless operation and maximum efficiency. To stack 4 Aruba switches, you can follow these general guidelines:
1. Ensure all switches are compatible for stacking and are running the same firmware version.
2. Physically connect the switches using stacking cables, typically located on the back of the switches.
3. Configure the stacking settings on each switch, including the stacking priority and unit ID.
4. Verify the stack formation and connectivity by checking the stacking status on each switch.
5. Configure the switch stack as a single logical unit, enabling features like virtual switching framework (VSF) for enhanced resiliency and performance.
In terms of the latest point of view, Aruba has been focusing on enhancing stack management capabilities through features like cloud-based management and automation tools. It is recommended to leverage these advancements to simplify the configuration and monitoring of stacked Aruba switches, ensuring optimal performance and scalability for modern network environments.
Troubleshooting common issues in Aruba switch stacking
Troubleshooting common issues in Aruba switch stacking involves ensuring that all switches are properly connected and powered on, verifying that the stacking cables are securely connected, and checking the switch configuration for any errors. Additionally, it is important to ensure that the firmware on all stacked switches is up to date to avoid compatibility issues.
To stack 4 Aruba switches, you can follow these steps:
1. Connect the stacking cables: Use the appropriate stacking cables to connect each switch in the stack. Ensure that the cables are securely connected to the stacking ports on each switch.
2. Power on the switches: Turn on each switch in the stack and allow them to boot up. Make sure that all switches are receiving power and are functioning properly.
3. Configure the stack: Log into the Aruba switch interface and configure the stack settings. Assign a stack ID to each switch and set the priority levels to determine the master switch.
4. Verify the stack: Once the switches are stacked, verify the stack status to ensure that all switches are properly connected and functioning as expected.
By following these steps and troubleshooting any common issues that may arise, you can successfully stack 4 Aruba switches to create a unified network infrastructure.


