En
En
 De
De Fr
Fr Ru
Ru Es
Es Pt
Pt It
It Ar
Ar Se
Se Nl
Nl Jp
Jp Tw
Tw Gr
Gr Th
Th Fi
Fi Ko
Ko Pl
Pl Cn
Cn Tr
Tr No
No Dk
Dk Il
Il My
My Hu
Hu Hi
Hi
How to setup cisco catalyst 2960-x series?
To set up a Cisco Catalyst 2960-X series switch, follow these steps:
1. Connect the switch to a power source and make sure it is powered on.
2. Connect your computer to the switch using an Ethernet cable.
3. Open a web browser on your computer and enter the default IP address of the switch (usually 192.168.1.1 or 10.0.0.1) in the address bar.
4. Log in to the switch using the default username and password (usually admin/admin or cisco/cisco).
5. Once logged in, you will be prompted to change the default password. Follow the on-screen instructions to set a new password.
6. Configure the basic network settings, such as IP address, subnet mask, and default gateway, according to your network requirements.
7. Set up VLANs, if needed, to segregate network traffic.
8. Configure any additional features or settings, such as Quality of Service (QoS) or port security, as per your network requirements.
9. Save the configuration changes and restart the switch for the changes to take effect.
Note: It is recommended to consult the official documentation or seek assistance from a certified Cisco professional for detailed instructions specific to your switch model and software version.
Initial setup and configuration of Cisco Catalyst 2960-X series.
To set up a Cisco Catalyst 2960-X series switch, follow these steps:
1. Connect the switch to a power source using the provided power cord.
2. Connect your computer to the switch using an Ethernet cable.
3. Open a web browser on your computer and enter the default IP address of the switch (usually 192.168.1.1) in the address bar. Press Enter.
4. Enter the default username and password (usually "admin" for both) to log in to the switch's web interface.
5. Once logged in, you will be prompted to change the default password. Follow the on-screen instructions to set a new password for the switch.
6. Configure the basic settings of the switch, such as the hostname and domain name. You can also set up IP addressing and enable services like SSH, SNMP, and Telnet.
7. Create and assign VLANs (Virtual Local Area Networks) to different switch ports if needed. VLANs help in segmenting the network and improving security and performance.
8. Configure any additional features and settings required for your network, such as Quality of Service (QoS), Spanning Tree Protocol (STP), and port security.
9. Save the configuration changes and reboot the switch for the changes to take effect.
10. Test the connectivity and functionality of the switch by connecting devices to the switch ports and verifying network connectivity.
It is important to note that the specific steps may vary depending on the firmware version and model of the Cisco Catalyst 2960-X series switch. It is recommended to refer to the official Cisco documentation or consult with a Cisco certified professional for the most up-to-date and accurate instructions.
VLAN configuration on Cisco Catalyst 2960-X series.
To set up VLAN configuration on Cisco Catalyst 2960-X series switches, follow these steps:
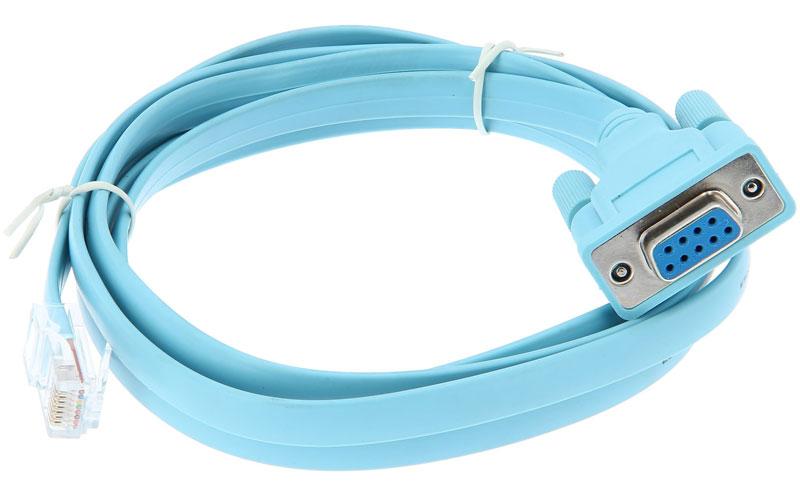
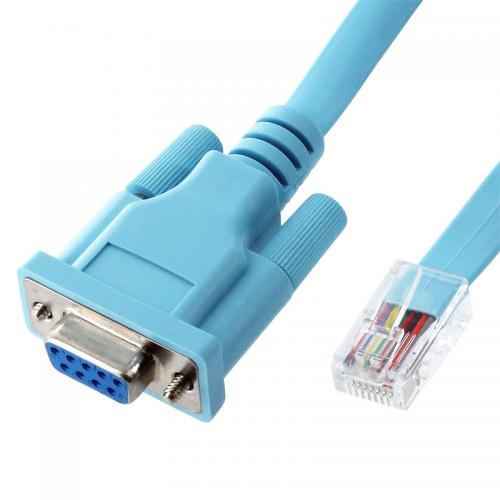
1. Connect to the switch: Use a console cable to connect your computer to the switch's console port. Use terminal emulation software such as PuTTY or Tera Term to establish a console session.
2. Access the CLI: Once connected, log in to the switch using the default username and password or the credentials provided by your network administrator.
3. Enter privileged EXEC mode: Type "enable" and press Enter to enter privileged EXEC mode.
4. Enter global configuration mode: Type "configure terminal" and press Enter to enter global configuration mode.
5. Create VLANs: Use the "vlan" command followed by the VLAN number to create VLANs. For example, to create VLAN 10, type "vlan 10" and press Enter.
6. Assign ports to VLANs: Use the "interface" command followed by the port number to access the interface configuration mode. For example, to configure port 1, type "interface GigabitEthernet1/0/1" and press Enter. Then, use the "switchport mode" command followed by the desired mode (access or trunk) to configure the port. To assign the port to a VLAN, use the "switchport access vlan" command followed by the VLAN number.
7. Configure trunk ports: If you want to configure a port as a trunk port, use the "switchport mode trunk" command in interface configuration mode. To allow specific VLANs on the trunk, use the "switchport trunk allowed vlan" command followed by the VLAN numbers.
8. Verify the configuration: Use the "show vlan" command to verify the VLAN configuration. Additionally, you can use the "show interfaces" command to verify the port configurations.
Remember to save the configuration using the "copy running-config startup-config" command to ensure that the VLAN configuration is retained after a reboot.
It's important to note that the latest point of view may involve the use of newer software versions or security enhancements. It is recommended to consult the official Cisco documentation and release notes for the specific software version you are using to ensure you are following the latest best practices and guidelines.

Configuring Layer 2 and Layer 3 protocols on Cisco Catalyst 2960-X series.
To set up a Cisco Catalyst 2960-X series switch, you will need to follow a few steps to configure both Layer 2 and Layer 3 protocols. Here is a general guide to get you started:
1. Connect the switch to your network: Use Ethernet cables to connect the switch to your network devices, such as routers, servers, and access points. Ensure that the connections are secure and properly plugged in.
2. Access the switch: Connect your computer to the switch using an Ethernet cable or through the console port using a serial cable. Open a terminal emulator program, such as PuTTY or HyperTerminal, and configure the settings to match the switch's console settings (baud rate, data bits, etc.).
3. Configure basic settings: Once connected, you will need to configure basic settings, such as the hostname, domain name, and management IP address. Use the command line interface (CLI) to enter these settings. For example:
- Switch(config)# hostname [name]
- Switch(config)# ip domain-name [domain]
- Switch(config)# interface vlan 1
- Switch(config-if)# ip address [ip address] [subnet mask]
- Switch(config-if)# no shutdown
4. Enable Layer 2 protocols: Configure Layer 2 protocols, such as Spanning Tree Protocol (STP) and VLANs, to ensure network stability and segmentation. For example:
- Switch(config)# spanning-tree mode rapid-pvst
- Switch(config)# vlan [vlan number]
- Switch(config-vlan)# name [vlan name]
5. Configure Layer 3 protocols: If you require Layer 3 functionality, configure routing protocols, such as Routing Information Protocol (RIP) or Open Shortest Path First (OSPF). For example:
- Switch(config)# ip routing
- Switch(config)# router rip
- Switch(config-router)# network [network address]
6. Save the configuration: Once you have completed the configuration, save it to the switch's startup configuration to ensure that it persists after a reboot. Use the "copy running-config startup-config" command.
It is important to note that specific configurations may vary depending on your network requirements and the software version running on the switch. It is recommended to consult the official Cisco documentation or seek assistance from a qualified network administrator for the most up-to-date and accurate configuration guidelines.