 En
En
 De
De Fr
Fr Ru
Ru Es
Es Pt
Pt It
It Ar
Ar Se
Se Nl
Nl Jp
Jp Tw
Tw Gr
Gr Th
Th Fi
Fi Ko
Ko Pl
Pl Cn
Cn Tr
Tr No
No Dk
Dk Il
Il My
My Hu
Hu Hi
Hi
How to use sfp transceiver?

To use an SFP transceiver, follow these steps:
1. Ensure that your networking device (such as a switch or router) supports SFP transceivers and has an available SFP slot.
2. Insert the SFP transceiver into the SFP slot on the networking device. Make sure it is properly aligned and firmly seated.
3. Connect the appropriate fiber optic cable or copper cable to the SFP transceiver. Ensure that the cable is securely connected.
4. If using fiber optic cables, make sure to connect the correct type of fiber (single-mode or multi-mode) based on the transceiver and network requirements.
5. Power on the networking device and check the status lights on the SFP transceiver. The lights indicate the link status, activity, and speed of the connection.
6. Configure the networking device to recognize and use the SFP transceiver. This may involve accessing the device's management interface and configuring the appropriate settings.
7. Test the connection to ensure that data is being transmitted and received properly. Monitor the network performance and troubleshoot any issues if necessary.
Remember to consult the documentation provided by the manufacturer of the networking device and the SFP transceiver for specific instructions and compatibility information.
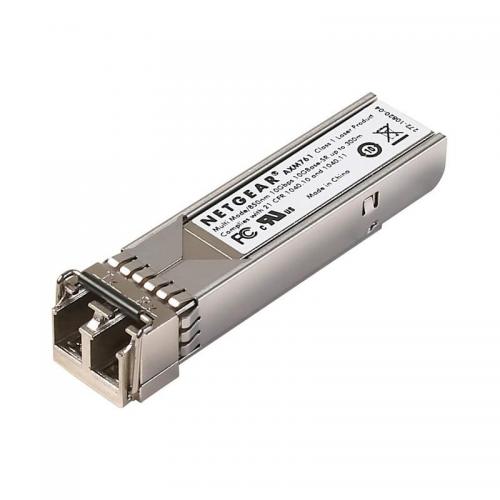
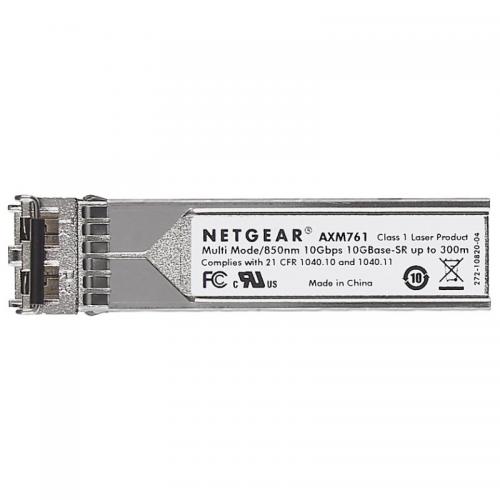
SFP Transceiver Basics
SFP (Small Form-factor Pluggable) transceivers are widely used in networking equipment to connect fiber optic cables to network switches, routers, and other devices. They provide a flexible and modular approach to network connectivity, allowing for easy upgrades and replacements without the need to replace the entire device.
To use an SFP transceiver, follow these steps:
1. Identify the correct type of SFP transceiver for your network. There are various types available, such as SFP, SFP+, and QSFP, each with different data rates and transmission distances. Ensure compatibility with your network equipment.
2. Power off the device before inserting or removing the SFP transceiver. This prevents any electrical damage and ensures safe handling.
3. Locate the SFP slot on your network device. It is usually found on the front or rear panel and is labeled accordingly.
4. Remove the protective dust cover from the SFP transceiver and carefully align the transceiver's connector with the slot on the device.
5. Gently push the transceiver into the slot until it clicks into place. Ensure a secure connection, but avoid applying excessive force.
6. Power on the device and allow it to recognize the newly inserted SFP transceiver. This process is usually automatic, but some devices may require manual configuration.
7. Monitor the device's interface or management software to verify the transceiver's status. It should indicate that the transceiver is recognized and operating correctly.
8. If necessary, configure the SFP transceiver settings according to your network requirements. This can include adjusting data rates, transmission modes, or other parameters.
9. To remove the SFP transceiver, power off the device, gently press the transceiver's ejector lever, and carefully pull it out of the slot.
It is important to note that SFP transceivers are hot-swappable, meaning they can be inserted or removed while the device is powered on. However, it is always recommended to power off the device before handling the transceiver to minimize any potential risks.
As technology advances, newer SFP transceiver models are being introduced with higher data rates and improved performance. Therefore, it is essential to stay updated with the latest specifications and compatibility requirements for your network equipment.
SFP Transceiver Installation Guide
To use an SFP transceiver, you will need to follow the installation guide provided by the manufacturer. While the specific steps may vary depending on the make and model of the transceiver, the general process is as follows:
1. Check compatibility: Ensure that the SFP transceiver is compatible with your networking equipment. Check the specifications and requirements provided by the manufacturer.
2. Power off the equipment: Before installing or removing the SFP transceiver, it is important to power off the networking equipment, such as switches or routers, to avoid any potential damage.
3. Locate the SFP slot: Identify the SFP slot on your networking equipment. It is usually located on the front or rear panel of the device. The slot is typically labeled with an SFP symbol or the port number.
4. Insert the SFP transceiver: Carefully insert the SFP transceiver into the slot, ensuring that it is properly aligned. Apply gentle pressure until you hear a click, indicating that it is securely inserted.
5. Secure the transceiver: Some SFP transceivers come with a locking mechanism to prevent accidental removal. If your transceiver has this feature, use it to secure the transceiver in place.
6. Power on the equipment: Once the transceiver is installed, you can power on the networking equipment. The device should recognize the transceiver and establish a connection.
7. Verify connectivity: Check the status lights on the networking equipment to ensure that the SFP transceiver is functioning correctly. Green lights typically indicate a successful connection.
It is important to consult the manufacturer's installation guide for specific instructions and any additional steps that may be required for your particular SFP transceiver model.
From a latest point of view, it is worth noting that some SFP transceivers now support hot-swapping, which means they can be installed or removed while the networking equipment is powered on. However, it is still recommended to power off the equipment as a precautionary measure. Additionally, advancements in technology have led to the development of various types of SFP transceivers, such as gigabit Ethernet, 10G, and 40G transceivers. Therefore, it is crucial to ensure that you are using the correct type of transceiver for your specific networking needs.
SFP Transceiver Compatibility and Interoperability
SFP (Small Form-Factor Pluggable) transceivers are widely used in networking and telecommunications to provide connectivity between network devices. They are hot-swappable and compact, making them easy to install and replace. To use an SFP transceiver, follow these steps:
1. Determine compatibility: Before using an SFP transceiver, ensure that it is compatible with your networking equipment. Check the device's specifications or consult the manufacturer's documentation to verify the supported SFP module types and protocols.
2. Insert the transceiver: Power off the device and locate the SFP transceiver slot. Remove the protective cover from the transceiver and align it with the slot. Gently push the transceiver into the slot until it clicks into place.
3. Secure the transceiver: Some devices have screws or latches to secure the transceiver in place. If applicable, use the provided screws or latch mechanism to ensure a secure connection.
4. Connect the fiber optic cable: Attach the fiber optic cable to the transceiver's LC or SC connector. Make sure the connector is clean and free from dust or debris to ensure optimal signal transmission.
5. Power on the device: Once the transceiver is securely installed and the fiber optic cable is connected, power on the device. The device should recognize the transceiver and establish a link.
It is important to note that SFP transceiver compatibility and interoperability have improved over the years. Manufacturers have made efforts to ensure that their transceivers work with a wide range of devices, including those from different vendors. However, it is still recommended to verify compatibility with your specific networking equipment to avoid any potential issues.
In recent years, advancements in SFP technology have led to the development of higher-speed transceivers, such as 10G and 40G SFP+ modules, which offer increased data rates and improved performance. These newer transceivers often support backward compatibility with lower-speed SFP modules, allowing for easy integration into existing networks.
Additionally, some SFP transceivers now support digital diagnostics monitoring (DDM) capabilities. DDM allows for real-time monitoring of various parameters, such as temperature, voltage, and optical power levels, providing enhanced visibility and troubleshooting capabilities for network administrators.
Overall, the use of SFP transceivers has become more straightforward and versatile, thanks to improved compatibility, higher data rates, and enhanced monitoring capabilities.
SFP Transceiver Best Practices and Recommendations
To use an SFP transceiver effectively, it is important to follow best practices and recommendations to ensure optimal performance. Here are some key points to consider:
1. Compatibility: Ensure that the SFP transceiver you are using is compatible with your network equipment. Check the manufacturer's specifications and guidelines to ensure a proper match.
2. Fiber Type: Determine the appropriate fiber type (single-mode or multi-mode) for your network infrastructure. Single-mode fiber is suitable for long-distance transmission, while multi-mode fiber is better for shorter distances.
3. Cleaning and Inspection: Before installing the SFP transceiver, clean and inspect the fiber connectors to remove any dirt, dust, or debris. This will help maintain signal integrity and prevent damage.
4. Hot Swapping: SFP transceivers are typically hot-swappable, meaning they can be inserted or removed while the network equipment is powered on. However, it is recommended to consult the equipment manufacturer's guidelines to ensure safe hot swapping.
5. Power Levels: Ensure that the power levels of the SFP transceiver are within the specified range for both the transmitter and receiver. Operating outside these ranges can result in poor performance or damage to the transceiver.
6. Temperature Considerations: SFP transceivers can be sensitive to temperature fluctuations. Ensure that the operating temperature range of the transceiver is compatible with the environment in which it will be deployed.
7. Firmware Updates: Keep the firmware of your SFP transceivers up to date to benefit from any bug fixes, performance improvements, or compatibility enhancements provided by the manufacturer.
8. Quality Assurance: Purchase SFP transceivers from reputable manufacturers or vendors to ensure product quality and reliability. Counterfeit or low-quality transceivers may not perform as expected and could potentially damage your network equipment.
It is important to note that SFP transceiver best practices and recommendations may evolve over time as technology advances. Therefore, it is always advisable to consult the latest documentation and guidelines provided by the manufacturer for the specific SFP transceiver you are using.


