 En
En
 De
De Fr
Fr Ru
Ru Es
Es Pt
Pt It
It Ar
Ar Se
Se Nl
Nl Jp
Jp Tw
Tw Gr
Gr Th
Th Fi
Fi Ko
Ko Pl
Pl Cn
Cn Tr
Tr No
No Dk
Dk Il
Il My
My Hu
Hu Hi
Hi
How to make console cable rj45 to rj45?
Understanding the pinouts of RJ45 to RJ45 console cables
To make a console cable with an RJ45 to RJ45 connection, you will need the following materials:
1. RJ45 connectors (2)
2. Ethernet cable (Cat5e or Cat6)
3. Crimping tool
4. Wire stripper
5. Screwdriver (if necessary)
Here are the steps to make a console cable with RJ45 to RJ45 connection:
1. Strip the outer jacket of the Ethernet cable using a wire stripper, exposing the individual wires inside. Make sure to strip off about an inch of the outer jacket.
2. Untwist the pairs of wires and separate them. You will typically see four pairs of wires, each with a different color.
3. Arrange the wires according to the T568B standard. The order from left to right should be: orange-white, orange, green-white, blue, blue-white, green, brown-white, brown. This is the standard pinout for Ethernet connections.
4. Trim the wires so that they are all the same length, leaving about half an inch of exposed wire.
5. Insert the wires into the RJ45 connector, making sure that each wire goes into the correct slot. Double-check the order before crimping.
6. Use a crimping tool to crimp the connector onto the cable, ensuring that it is securely attached.
7. Repeat the process for the other end of the cable, using the same pinout and crimping technique.
Once you have made the console cable with RJ45 to RJ45 connection, you can use it to connect devices that require this type of connection, such as routers, switches, or networking equipment.
Understanding the pinouts of RJ45 to RJ45 console cables is essential for proper communication between devices. It is important to follow the T568B standard to ensure compatibility and avoid any connectivity issues. However, it is worth noting that some devices may have different pinouts or require a specific wiring configuration. In such cases, it is recommended to refer to the device's manual or consult the manufacturer for the correct pinout information.
Additionally, it is always a good idea to test the console cable after making it to ensure that it is functioning correctly. This can be done by connecting the devices and checking for proper communication and data transfer.
Configuring console cable settings for different devices
To make a console cable with RJ45 to RJ45 connectors, you will need a few materials and tools. Here is a step-by-step guide to help you construct the cable:
1. Materials needed:
- RJ45 connectors (2)
- Ethernet cable (CAT5 or CAT6)
- Crimping tool
- Wire stripper
- Screwdriver (if needed)
2. Strip the outer covering of the Ethernet cable using a wire stripper, exposing the internal wires. You will typically find four pairs of colored wires inside.
3. Untwist the pairs of wires and arrange them according to the T568B wiring standard. The order should be: orange-white, orange, green-white, blue, blue-white, green, brown-white, brown. Trim the wires to an equal length.
4. Insert the wires into the RJ45 connector, making sure they are in the correct order. Push them firmly into the connector until they reach the end.
5. Use the crimping tool to crimp the connector, securing the wires in place. Repeat the process for the other end of the cable.
6. Once both ends are crimped, your console cable with RJ45 to RJ45 connectors is ready to use.
Configuring console cable settings for different devices:
When using a console cable, it is essential to configure the appropriate settings for different devices. This typically involves setting the baud rate, data bits, stop bits, and parity.
The baud rate determines the speed at which data is transmitted and received. It is crucial to match the baud rate settings on both the device and the terminal emulator software you are using.
Data bits refer to the number of bits used to represent each character. The most common setting is eight data bits.
Stop bits indicate the end of a character and are typically set to one.
Parity is used for error detection. Common parity settings include none, even, and odd.
It is important to consult the device's documentation or manufacturer's website to determine the specific console cable settings required. These settings can vary depending on the device and its firmware version.
In conclusion, constructing a console cable with RJ45 to RJ45 connectors is a straightforward process. However, configuring the console cable settings correctly for different devices is crucial to establish a successful connection. Always refer to the device's documentation for the most accurate and up-to-date information on console cable settings.

Troubleshooting common issues with console cables
To make a console cable RJ45 to RJ45, you will need the following materials:
1. RJ45 connectors (2)
2. CAT5e or CAT6 Ethernet cable
3. Crimping tool
4. Wire stripper
5. Ethernet cable tester (optional)
Here are the steps to make a console cable RJ45 to RJ45:
1. Start by stripping about 2 inches (5 cm) of the outer insulation from both ends of the Ethernet cable using a wire stripper. Be careful not to damage the inner wires.
2. Inside the cable, you will find 8 color-coded wires. Arrange them according to the TIA/EIA-568-B wiring standard, which is the most commonly used wiring standard for Ethernet cables. The order is as follows: white-orange, orange, white-green, blue, white-blue, green, white-brown, and brown.
3. Cut the wires to a length of about 0.5 inches (1.3 cm) and untwist them.
4. Insert the wires into the RJ45 connectors, making sure that they are in the correct order. Double-check the wiring order to avoid any connection issues.
5. Use a crimping tool to crimp the RJ45 connectors onto the wires. Apply firm pressure to ensure a secure connection.
6. Repeat the process on the other end of the cable.
7. Once both ends are crimped, you can use an Ethernet cable tester to check the continuity and connectivity of the cable. This step is optional but recommended to ensure that the cable is properly made.
By following these steps, you can create a console cable RJ45 to RJ45 that can be used for troubleshooting common issues with network devices.
Alternatives to RJ45 to RJ45 console cables for console connections
To make a console cable RJ45 to RJ45, you will need the following materials:
1. RJ45 connectors (2)
2. Ethernet cable (CAT5e or CAT6)
3. Crimping tool
4. Wire stripper
5. Cable tester (optional)
Here are the steps to make the console cable:
1. Strip off about 1 inch of the outer jacket from both ends of the Ethernet cable using the wire stripper.
2. Untwist the pairs of wires inside the cable and arrange them according to the T568B wiring standard. The color order should be: white-orange, orange, white-green, blue, white-blue, green, white-brown, brown.
3. Trim the excess wires, leaving about half an inch exposed.
4. Insert each wire into the corresponding pin slot of the RJ45 connector, ensuring that the wires are fully inserted and making contact with the metal pins.
5. Use the crimping tool to crimp the connector onto the cable, ensuring a secure connection.
6. Repeat the process for the other end of the cable.
7. Once both ends are crimped, use a cable tester to verify that all the wires are properly connected and there are no connectivity issues.
Alternatives to RJ45 to RJ45 console cables for console connections:
1. USB to RJ45 console cables: These cables have a USB connector on one end and an RJ45 connector on the other, allowing you to connect your computer's USB port to the console port of a networking device.
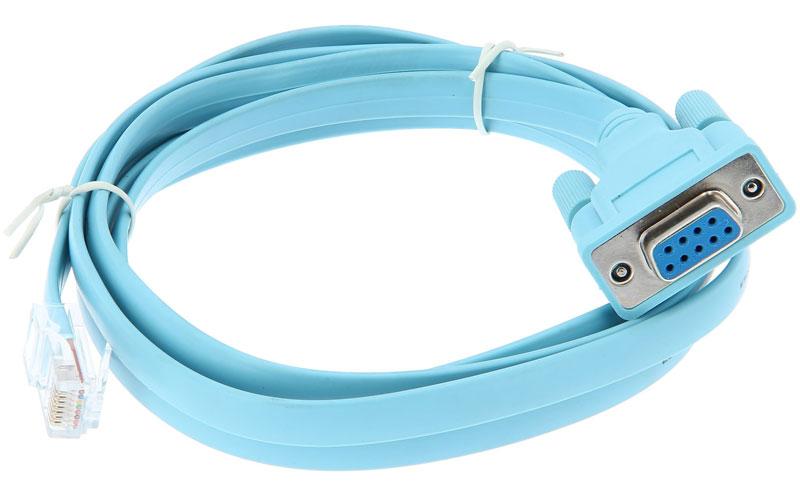
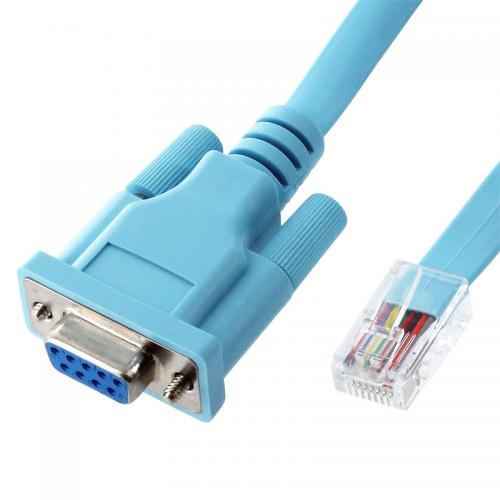
2. Serial to RJ45 console cables: These cables have a serial connector (DB9 or DB25) on one end and an RJ45 connector on the other. They are used to connect computers or laptops with serial ports to the console port of networking devices.
3. Wireless console adapters: These devices connect to the console port of networking devices and provide wireless connectivity, allowing you to access the console remotely over Wi-Fi or Bluetooth.
It is important to note that the choice of console cable depends on the specific requirements and compatibility of the networking devices being used.


")


